(these photos are provided only to show what I've done to my 2018 Goldwing - they are intended for show and not specifically a "how to" guide - therefore if you choose to try it yourself you are doing so on your own accord and at your own risk) "Good Luck"


The fog light cover is probably the "only" easy piece of plastic you'll remove from the 2018 Wing...

After removing the engine cover (this is a little more challenging to remove) remove the wire clips from the crash bar cover and keep them in a safe place...
Figure 3 shows the location of where I cut the plastic on the engine cover...

And Figure 4 shows the location of where I cut out 1" of the plastic on the crash bar cover...
First I cut out 3/4" and found that wasn't enough and it caused the crash bar cover to not latch back in to the engine cover well enough...

I tried a few different methods to locate the center of the crash bar and finally just "eye balled it" and made pencil marks on both sides of the 1" magnum clamp...

One of my problems in deciding on what highway pegs to install was my short legs needed to reach them!
I finally settled on this set with the offset...

Very good quality products - and it will be interesting to see what they finally come up with for a specific product to fit the 2018 model...

I knew the 1" clamp would not fit around the curve of the crash bar and still don't know if the 1 1/4" clamp would have been better but chose to use the smaller one and "make it fit" rather than have one that would most likely be too loose...

Bending the flange on the magnum clamp and adding a thicker washer seems to do the trick - it can be tightened very well!

USE CAUTION WHEN TIGHTENING THIS BOLT!

I'm getting more comfortable as the project goes and at this point am believing it's going to work...

A piece of 1" board clamped to the flange of the magnum clamp offered me a view of how the peg install was going to line up with the bike...

Figure 13 shows how I used a erase board marker (easily wipes off) to mark the location where I will need to cut the engine cover. Didn't take long to learn I would have to cut it wider in order for the little plastic slide clip to fit back together for the re-install...

Had to put the two pegs on to see if my short legs will reach... So far so good...

An original fear was that I would have no way to tighten the magnum clamp to the crash bar during re-install of the plastic engine guard but the fear subsided when I figured I could sneak the wrench in behind and get to the peg bolt...

Figure(s) 16 and 17 show that I took the two parts of the engine cover apart in order to better be able to hold the one I wanted to cut on... I used a coping saw to cut the plastic...

Two little screws hole the two pieces of plastic together - simple...
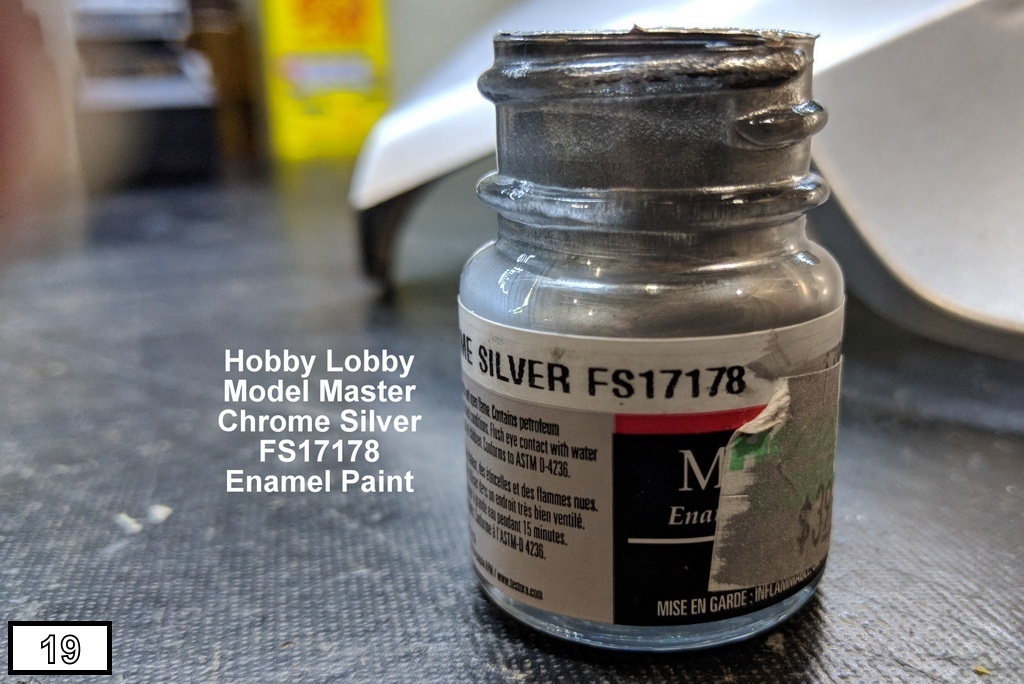
Cutting the silver painted plastic required a little "touch up"...

Grab the paint brush...

I used a dremel tool and drill to cut out the crash bar cover.
Looks kind of bad but hopefully it will look okay when all assembled...

Here I go!

Patience... just a little bit of room to slowly tighten the peg bolt...

...not bad just slow

Figure 24 shows the engine cover installed and it's beginning to look pretty good to me!

The fog light cover back on and all the bolts, clips, and crews that I took off were used - no left over pieces!

I'm rather pleased with how this turned out if I do say so myself - and thankfully I'm the only one I have to please...
Time for a cold beer! This was a six hour project and this old man's knees and back are sore...

A few more close up shots to show how it all came together and looks...


